How to Package and Ship Your Diabetic Supplies So You Get Paid Top Dollar
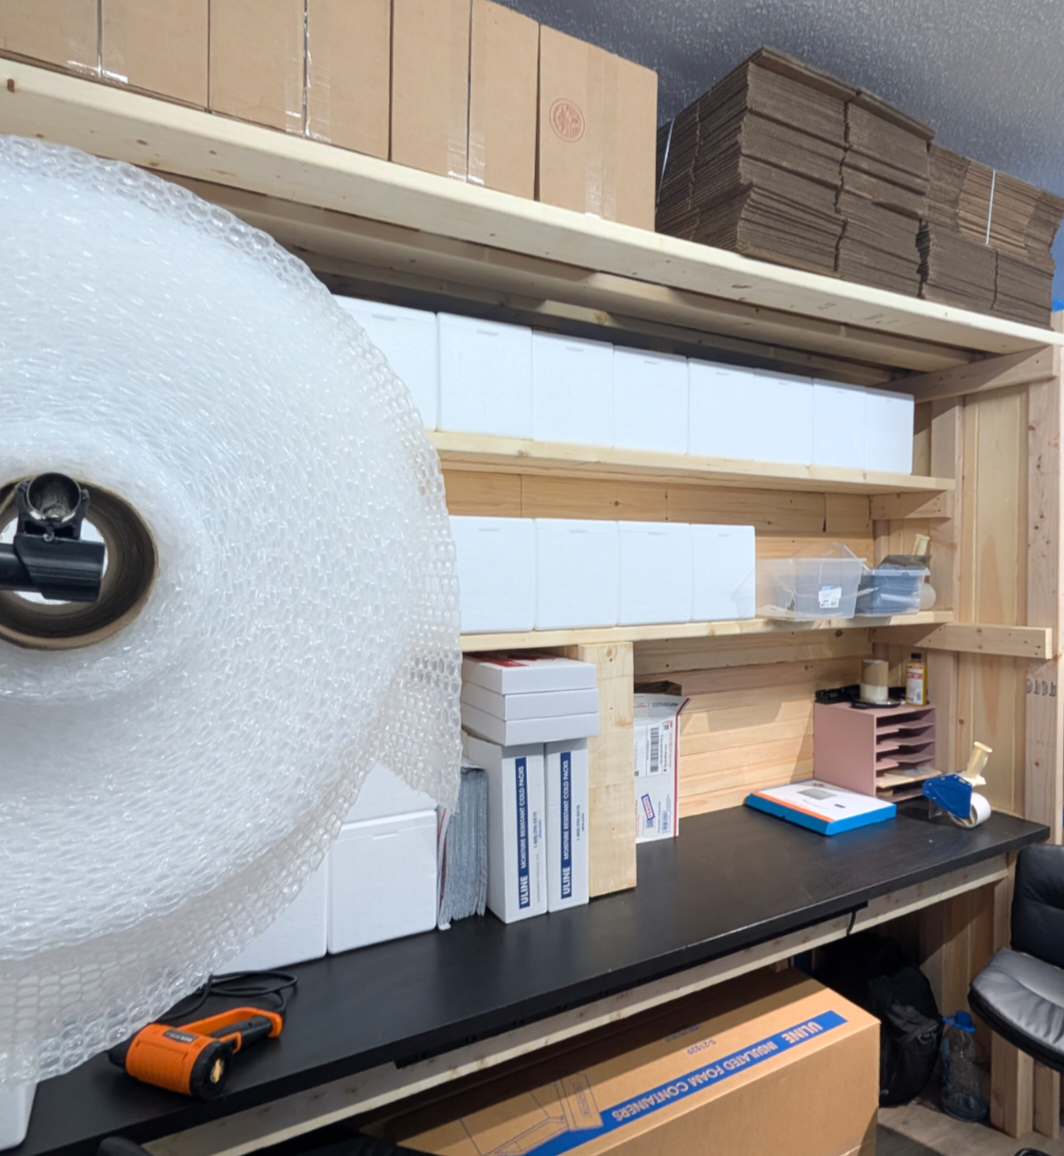
Here is a hard truth from our daily operations: the single most common preventable reason a seller receives less than their quote is not expiration dates, not brand, not eligibility — it is damage in transit. A box of premium sensors that left someone's house in mint condition arrives crushed under a corner impact, and value evaporates through no fault of the supplies themselves. The good news is that this is completely avoidable. Here is exactly how to pack and ship your diabetic supplies so every box arrives the way it left.
Why Packaging Sets Your Payout
Remember how condition pricing works: a pristine, undamaged box earns the top payout tier. Minor dents or creases with the seal intact get a reduced offer. Heavily damaged boxes may be declined entirely. Your quote assumes your supplies arrive in the condition you described — packaging is what protects that assumption through the shipping network's conveyor belts, sorting machines, and delivery trucks.
Think of it this way: ten minutes of careful packing is the highest-paying work you will do in this entire transaction.
Step 1: Choose the Right Box — and Never Use an Envelope
Start with a sturdy corrugated cardboard box — new or in excellent shape. Never use padded envelopes, polymailers, thin mailer boxes, or old boxes that have lost their rigidity. Envelopes offer zero crush protection, and supplies shipped in them routinely arrive damaged.
Size matters too: pick a box slightly larger than your supplies so there is room for padding on every side — but not so large that items swim around inside.
For large or heavy shipments, double-box. Place your packed inner box inside a second, larger box with padding between the two. It is the gold standard for protecting high-value shipments like multiple CGM boxes.
Step 2: Wrap and Fill
Wrap items individually in bubble wrap or foam — especially CGM sensor boxes and anything with crushable corners. Those corners are what hit first in a drop.
Fill every empty space with bubble wrap, packing paper, or packing peanuts. The test is simple: close the box and shake it gently. If you hear or feel anything moving, add more fill. Movement during transit is what turns mint boxes into dented ones.
Keep supplies in their original product boxes exactly as they are — sealed, unmarked, unopened. Never write on the product boxes themselves, and never tape product boxes together.
Step 3: Include Your Packing Slip
Print your packing slip and place it inside the box with your supplies. This one step matters more than sellers realize: it matches your shipment to your quote the moment it is opened, which speeds inspection and gets you paid faster. Shipments without a packing slip can face processing delays while they are identified.
Step 4: Seal It Right
Seal every seam with strong packing tape — two to three strips across the main seams. Do not use duct tape, masking tape, or household tape; they fail in heat and handling. And do not over-wrap the entire box in tape, which can flag the package for manual handling.
Step 5: Label and Ship Smart
Attach your prepaid shipping label flat on the largest surface of the box, with no tape covering the barcode.
One technical trap worth knowing: if you are using any carrier-branded packaging, the label type must match the box. USPS Priority Mail boxes can only be used with Priority Mail labels — putting a standard ground label on Priority packaging can trigger postage-due charges. The simplest path: use a plain cardboard box with the prepaid label we email you, and none of this is ever an issue.
Ship early in the week. A package dropped off Monday through Wednesday moves through the network and arrives on business days, when it can be inspected within our 24-to-48-business-hour window. Ship on a Friday and your package may sit through the weekend — adding days to your payment for no reason.
Drop your sealed, labeled package at any USPS or UPS location, keep your receipt, and track it. Every prepaid label we issue is fully tracked end to end.
A Note on Pharmacy Labels
If your boxes carry pharmacy labels with your personal information, you have two safe options. Remove them gently using the hairdryer method — warm the adhesive on low heat and peel slowly, never scraping or tearing. Or simply leave them on: we safely remove and shred all remaining labels on arrival, so your information is protected either way. What you should never do is rip labels off dry or scratch at them with a blade — a torn box face costs you real payout money to save yourself sixty seconds.
What This Means for Buyers, Too
There is a reason we hold sellers to careful packaging, and it is not fussiness. Every box that arrives mint and sealed is a box that can be verified and passed on to a buyer in pharmacy-grade condition. (See exactly what that verification involves in our inside-the-inspection guide.) The packaging standards on the sell side are the quality guarantee on the buy side. When you order from Express Diabetics, the sealed, undamaged product in your hands is the end result of this exact chain of care.
The Bottom Line
Sturdy box, individual wrap, no empty space, packing slip inside, real packing tape, label flat, ship early in the week. Ten minutes of care protects one hundred percent of your quote. Your supplies did the hard work of staying sealed and fresh — do not let the last hundred miles undo it.
Ready to ship? Get your free quote and prepaid label at expressdiabetics.com/sell.
Want verified supplies that arrived through this exact chain of care? Shop at expressdiabetics.com.
Sources: Industry packaging guidelines from 2026 buyback operations (sturdy-box, double-boxing, void-fill, and packing-slip standards) | USPS packaging and label-match requirements | Express Diabetics intake and condition-tier standards | Reviewed and updated July 14, 2026
Frequently asked
- What is the best way to package diabetic supplies for shipping?
- Use a sturdy cardboard box — never an envelope or polymailer — wrap items in bubble wrap, fill all empty space so nothing shifts, include your packing slip inside, and seal with strong packing tape. For large or heavy shipments, double-box for extra protection.
- Why does packaging matter so much when selling diabetic supplies?
- Because condition sets your payout. Boxes that arrive crushed, dented, or torn receive reduced offers or get rejected entirely — even if they left your house in mint condition. Proper packaging protects the payout you were quoted.
- Should I use an envelope to ship test strips?
- No, never. Envelopes and polymailers offer no crush protection, and supplies shipped in them frequently arrive damaged, which reduces or eliminates your payout. A sturdy box with padding is the only safe way to ship diabetic supplies.
- When is the best time to ship diabetic supplies?
- Early in the week. Packages shipped Monday through Wednesday arrive on business days when they can be inspected promptly, while packages shipped late in the week can sit in transit or at the facility over the weekend, delaying your payment.
How Was This Written?
- Written By
- Jacob W. Metheney
- Editorial Standard
- Content is verified against real-time U.S. market pricing, strict manufacturing brand criteria, and transparent certified compliance guidelines.
- Date Last Reviewed
- June 2026